Angular Cli With Universal

The capabilities of search engines and social media today go beyond just displaying links. They also pull in details and images, allowing users to see a preview before deciding whether to visit the website.
Angular is a Single Page Application (SPA) framework that renders in the browser, a process known as client-side rendering. This means that search engines and social media platforms often pull unrendered HTML data, leading to incomplete previews.
Angular Universal addresses this by acting as a server-side renderer, allowing search engines and social media platforms to pull fully rendered HTML for accurate display.
First, installing Angular CLI on your machine.
$ npm install -g @angular/cli@latestCreate a new project with Sass support included. For more details, check out this [link]
$ ng new --style=scss demo-universal
$ cd demo-universal
Next, install ts-loader, @angular/platform-server, and @nguniversal/module-map-ngfactory-loader.
$ npm install --save @angular/platform-server @nguniversal/module-map-ngfactory-loader ts-loaderModify the app.module.ts file by adding withServerTransition() to enable your app to work with Angular Universal.
@NgModule({
    declarations: [AppComponent],
    imports: [
        BrowserModule.withServerTransition({appId: 'demo-universal'}), ],
        providers: [],
    bootstrap: [AppComponent] })
The next step is to create a module file for server-side use at src/app/app.server.module.ts. This will allow you to load AppModule through ServerModule.
import { NgModule } from "@angular/core";
import { ServerModule } from "@angular/platform-server";
import { ModuleMapLoaderModule } from "@nguniversal/module-map-ngfactory-loader";

import { AppModule } from "./app.module";
import { AppComponent } from "./app.component";

@NgModule({
  imports: [AppModule, ServerModule, ModuleMapLoaderModule],
  bootstrap: [AppComponent],
})
export class AppServerModule {}
Next, create a file for the Universal bundle to export AppServerModule. Name this file src/main.server.ts.
export { AppServerModule } from "./app/app.server.module";Once done, go back to the tsconfig.app.json file, copy all the code, and then create a new file named tsconfig.server.json. Paste the copied code into tsconfig.server.json, and change the module format from es2015 to commonjs.
{
  "extends": "../tsconfig.json",
  "compilerOptions": {
    "outDir": "../out-tsc/app",
    "baseUrl": "./",
    "module": "commonjs",
    "types": []
  },
  "exclude": ["test.ts", "**/*.spec.ts"]
}
Add an extra property to specify that the app.server.module file should be compiled. For more details, you can refer to this link.
{
  "extends": "tsconfig.json",
  "compilerOptions": {
    "outDir": "out-tsc/app",
    "baseUrl": "./",
    "module": "commonjs",
    "types": []
  },
  "exclude": ["test.ts", "**/*.spec.ts"],
  "angularCompilerOptions": {
    "entryModule": "app/app.server.module#AppServerModule"
  }
}
Go back to the angular.json file. Under the architect property, we’ll add a new property to configure the build settings for the server.
"architect": {
  ...
  "server": {
    "builder": "@angular-devkit/build-angular:server",
    "options": {
      "outputPath": "dist/server",
      "main": "src/main.server.ts",
      "tsConfig": "src/tsconfig.server.json"
    }
  }
}
After that, you can go ahead and build your project.
$ ng run demo-universal:server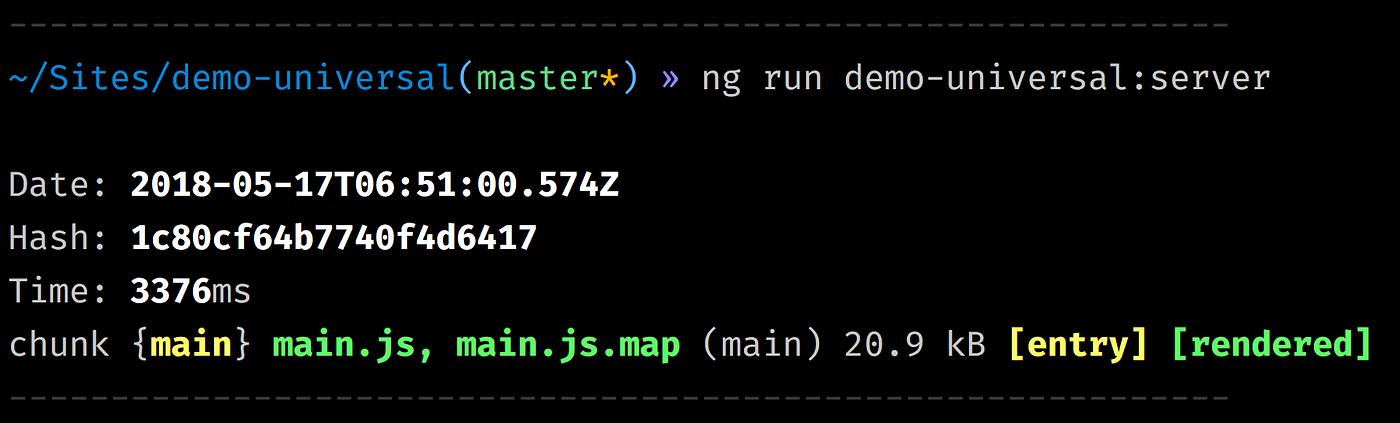
Setting up an Express Server
We’ve created the app, configured everything, and successfully built it. Now, how do we run it? We’ll use Express.js to run our Universal bundle.
Start by creating a server.ts file in the root of your app.
import "zone.js/dist/zone-node";
import "reflect-metadata";
import { enableProdMode } from "@angular/core";
// Express Engine
import { ngExpressEngine } from "@nguniversal/express-engine";
// Import module map for lazy loading
import { provideModuleMap } from "@nguniversal/module-map-ngfactory-loader";

import * as express from "express";
import { join } from "path";

// Faster server renders w/ Prod mode (dev mode never needed)
enableProdMode();

// Express server
const app = express();

const PORT = process.env.PORT || 4000;
const DIST_FOLDER = join(process.cwd(), "dist");

// * NOTE :: leave this as require() since this file is built Dynamically from webpack
const {
  AppServerModuleNgFactory,
  LAZY_MODULE_MAP,
} = require("./dist/server/main");

// Our Universal express-engine (found @ https://github.com/angular/universal/tree/master/modules/express-engine)
app.engine(
  "html",
  ngExpressEngine({
    bootstrap: AppServerModuleNgFactory,
    providers: [provideModuleMap(LAZY_MODULE_MAP)],
  })
);

app.set("view engine", "html");
app.set("views", join(DIST_FOLDER, "browser"));

// Example Express Rest API endpoints
// app.get('/api/**', (req, res) => { });

// Server static files from /browser
app.get(
  "*.*",
  express.static(join(DIST_FOLDER, "browser"), {
    maxAge: "1y",
  })
);

// All regular routes use the Universal engine
app.get("*", (req, res) => {
  res.render("index", { req });
});

// Start up the Node server
app.listen(PORT, () => {
  console.log(`Node Express server listening on http://localhost:${PORT}`);
});
At this point, we’ve configured Node and Express. The next step is to set up Webpack to use the server.ts file for serving our app. Create a new file named webpack.server.config.js in the root of your app.
// Work around for https://github.com/angular/angular-cli/issues/7200

const path = require("path");
const webpack = require("webpack");

module.exports = {
  mode: "none",
  entry: {
    // This is our Express server for Dynamic universal
    server: "./server.ts",
  },
  target: "node",
  resolve: { extensions: [".ts", ".js"] },
  // Make sure we include all node_modules etc
  externals: [/node_modules/],
  output: {
    // Puts the output at the root of the dist folder
    path: path.join(__dirname, "dist"),
    filename: "[name].js",
  },
  module: {
    rules: [{ test: /\.ts$/, loader: "ts-loader" }],
  },
  plugins: [
    new webpack.ContextReplacementPlugin(
      // fixes WARNING Critical dependency: the request of a dependency is an expression
      /(.+)?angular(\\|\/)core(.+)?/,
      path.join(__dirname, "src"), // location of your src
      {} // a map of your routes
    ),
    new webpack.ContextReplacementPlugin(
      // fixes WARNING Critical dependency: the request of a dependency is an expression
      /(.+)?express(\\|\/)(.+)?/,
      path.join(__dirname, "src"),
      {}
    ),
  ],
};
Go back to the package.json file and add the necessary scripts under the scripts property.
"scripts": {
  "build:universal": "npm run build:client-and-server-bundles && npm run webpack:server",
  "serve:universal": "node dist/server.js",
  "build:client-and-server-bundles": "ng build --prod && ng run demo-universal:server",
  "webpack:server": "webpack --config webpack.server.config.js --progress --colors"
}
After that, run the following command:
$ npm run build:universal && npm run serve:universalNote:
The use of an Express Server in this context is for demonstration purposes and as an example for this article. If you plan to use this setup in a real project, be sure to configure access controls and security measures properly. For production use, consider using a framework like PM2 or similar.
Help:
If you’re using Angular CLI that comes with Webpack 4, you might encounter build issues. To resolve this, revert ts-loader to version 4.2.0.